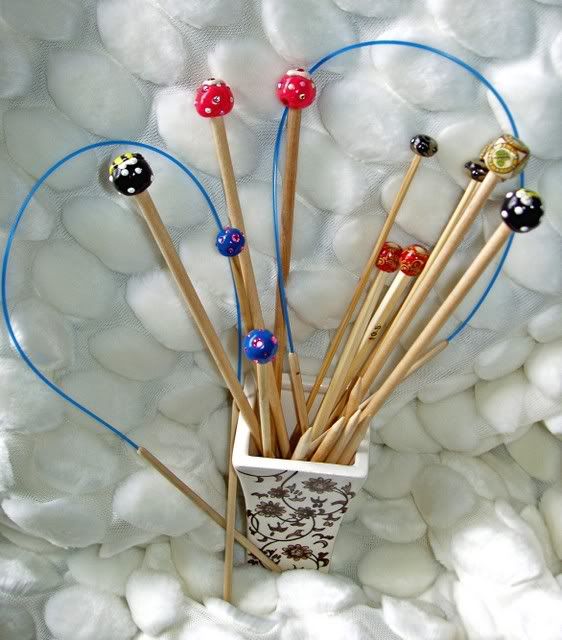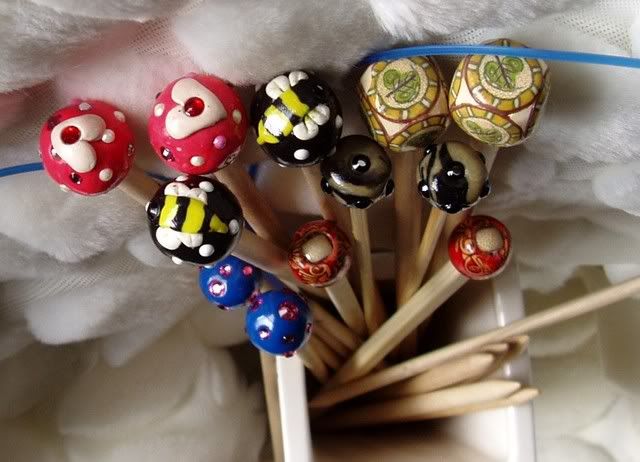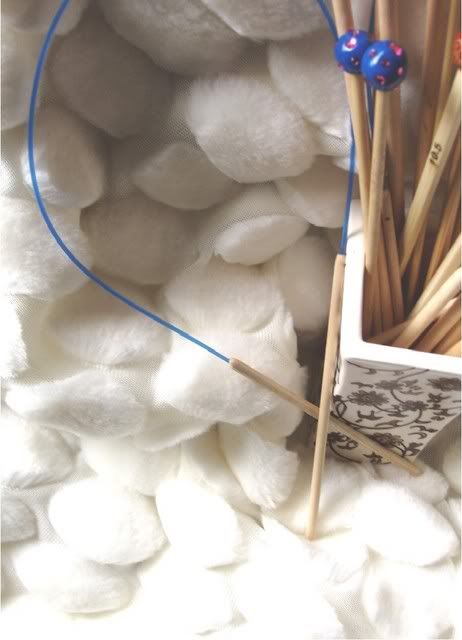
I really need to stop adding projects to my list of to do's! I think I am driving my DH batty. Here are some of the handmade knitting needles that I am making. Most are made with dowels, some bamboo skewers and one set of chopsticks. I use beads, polimer clay (I varnish these so that they are shiny!), swarovski crystals and anything that I find for the ends. My favs are the circular needles! I am so proud of myself! The how to's for the circs are after the pics. Have fun and send me pictures of the ones that you make!


Circular needle how to:
These are simple, but be patient. First choose your dowel size and cut them to the legnth you desire. The sharpen only one end of each dowel. On the flat side, use a 1/16 drill bit and and drill a hole right in the center about 1/4" into the dowel. I then begin sanding down the dowel. It takes a few minutes of sanding, but getting it nice and smooth is vital. Be sure to round out and taper the end with the hole! Once it is smooth (finish with an extra fine grit), rub it with mineral oil and then rub in parafin wax and buff. The rest is a piece of cake. Cut a legnth of weedwacker line and apply a dab of E6000 to the end, insert into the hole firmly. Repeat for the other end of the line. Allow these to dry for a few hours before you use them!
If you are going to make tiny circs, just use a smaller drill bit and a plastic coated wire using the same instructions as above. The little ones require a very steady hand and I recommend using bamboo skewers instead of dowels.
What TOTALLY ROCKS about this project is that the weedwacker line comes in so many colors that you can use a different color to denote the needle size! Secondly, they only cost about 20 cents per pair! More money for the yarn stash!
FYI You can use metal stamps from Harbor Freight to impress the needle with the size if you like. (these are so cheap and I use them on all sorts of things!)


3 comments:
those are nice
Thanks for the how-to! I need to try this. :)
THANK YOU SO MUCH!! I am so excited about your how to. Thank you fo rsharing. I am goig to make them but there is no telling when. I will def send a pic when i do.
Post a Comment