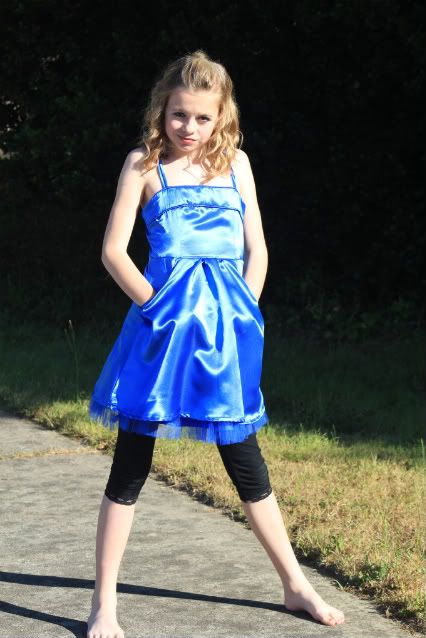
 This is the latest pattern based project. I really love the way that it came out and so does Madyrose! The pattern in Simplicity 2577, with lots of modifications. Fabric is a royal blue satin. I used the basic pattern pieces, but adjusted them to fit her because she is soooo thin. I used a child's size 8 for this project. She wanted the dress shorter, so I adjusted for this as well. I also fully lined the dress to make it more comfortable for her. The end result was terrific!
Recomendations : I would recommend this pattern. I LOVE the pockets and it is pretty straightfoward. The directions are not the best, but if you have some garment construction knowledge, you can figure it out fairly easy. I would rate this pattern as an intermediate skill level. If you use cottons instead of satin, avoid the lining, and use premade trims or cording, I would say beginning intermediate skill level. Really check the measurements on this pattern. If your child wears a RTW 10, but her measurements put her in a 6, make the six and lengthen the bodice and skirt to get the appropriate legnths.
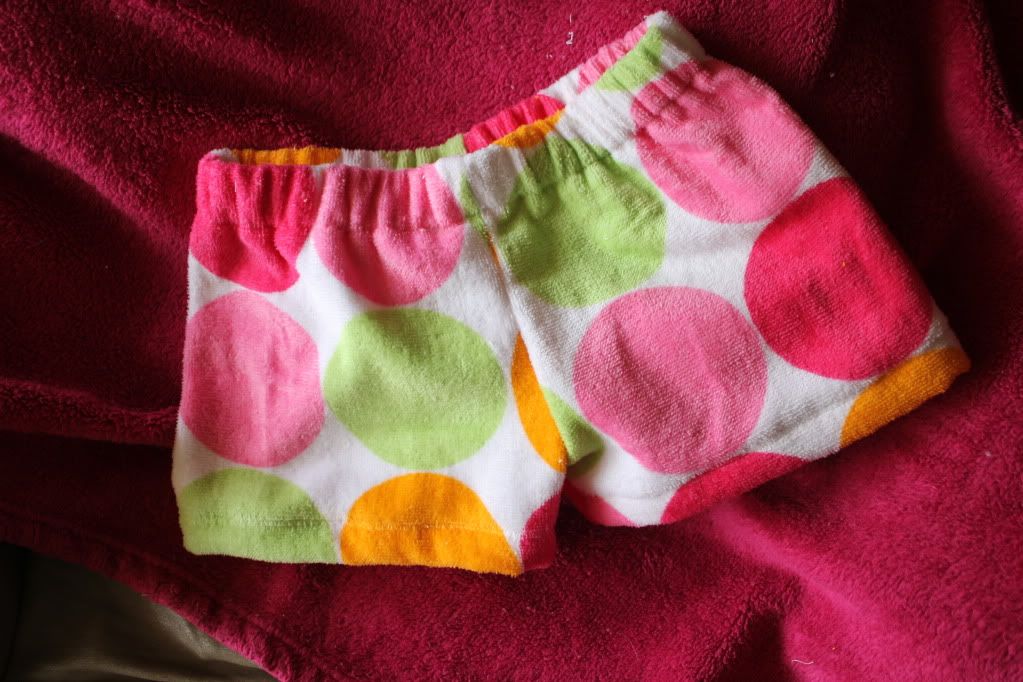
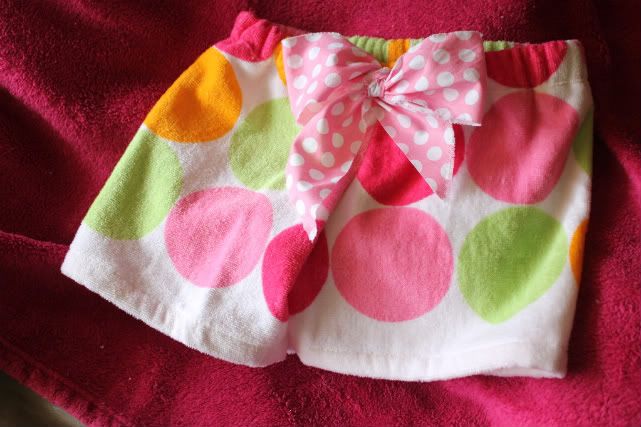 I LOVE these shorts! My daughter has been begging for a new pair, so I thought that I would share with everyone! The pattern can be found
 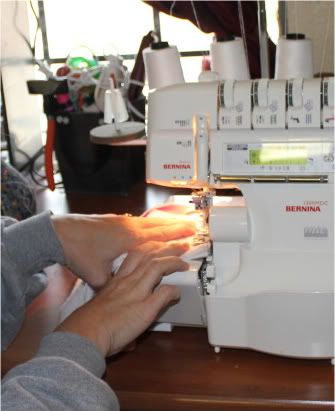 5) Place right sides together and stitch at crotch
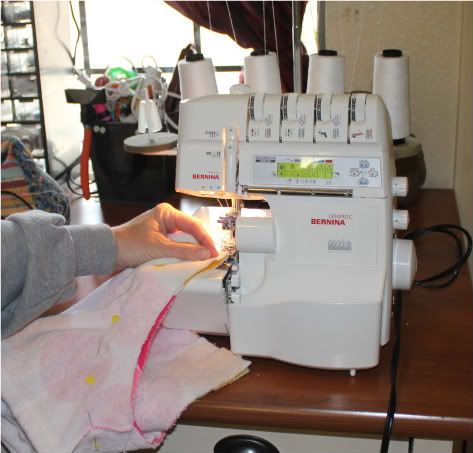
 10) OPTIONAL: You can add a shash bow to the front by cutting a piece of fabric 3"x32". Cutting this on the bias will help with excess fraying. Other options to finish sash are narrow hem, rolled hem, serged edge, three step zig-zap, or standard zig-zag. I like it best with a little fray on the edge! Find the mid-point of your sash, gather down the center and stitch to the center front seam of the waistband.
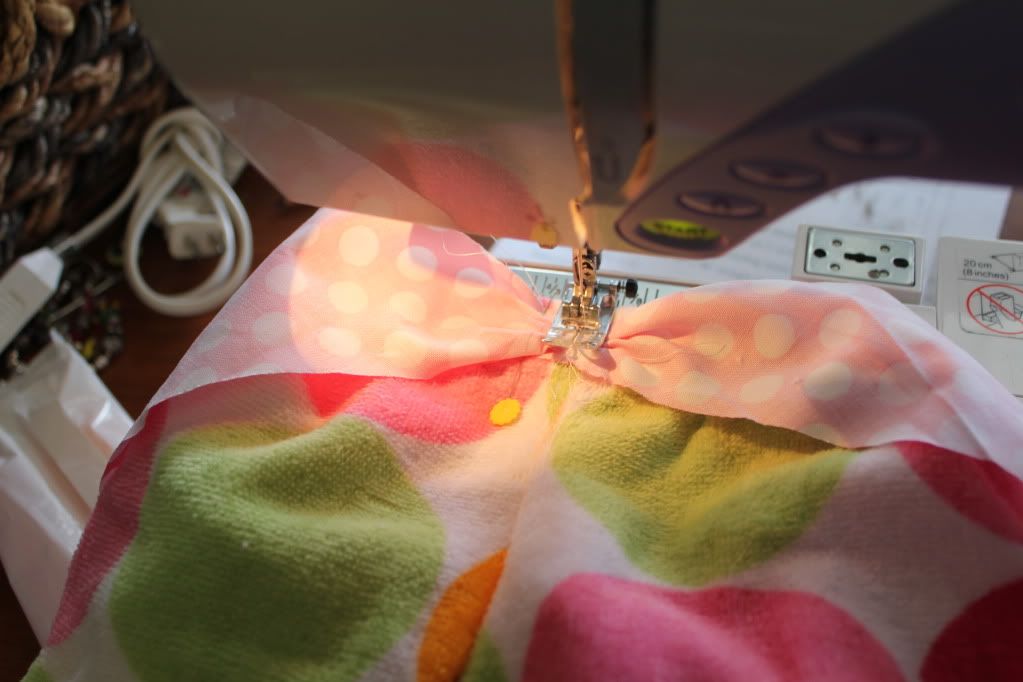 10) Hit the pool!


