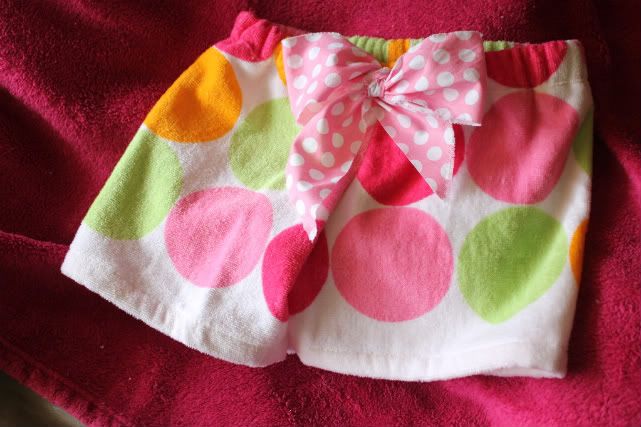
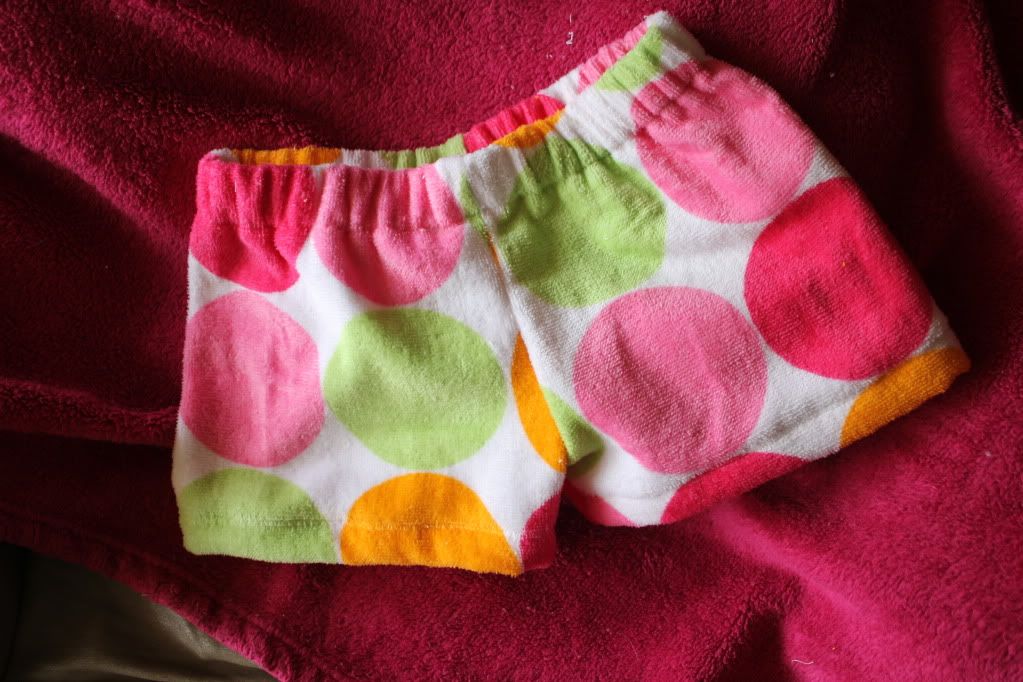
 I LOVE these shorts! My daughter has been begging for a new pair, so I thought that I would share with everyone! The pattern can be found HERE. Please note that in the European tradition, there are NO SEAM ALLOWANCES on the pattern. Simply add the seam allowance that you would like to the pattern piece. This pattern fits kids sizes 2T-12.
Materials:
Beach Towel
1" Elastic (to fit waist measurement)
Matching Thread
Directions:
1) First print out the pattern and cut the size that you need.
2) Add seam allowance. (If serging, add 1/4") You will only add this to the sides of the pattern, not the waist or hem.
3) Once you have your pattern pieces ready, you will place them on the towel. You can either cut as is, or deduct 1" from the hemline and use the binding on the towel at the hem.. (easy! No finishing needed!). Pin and cut out the pattern.
4) Stitch both sides at inner leg right sides together
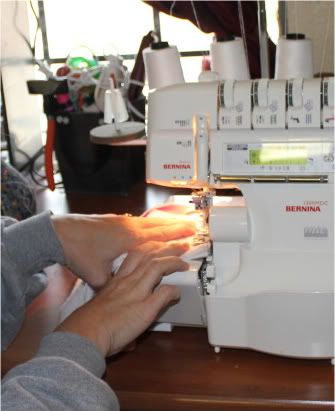 5) Place right sides together and stitch at crotch
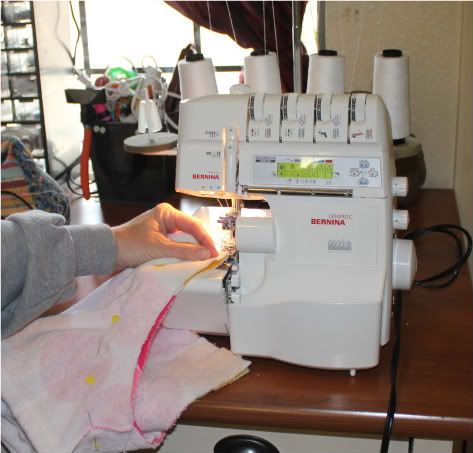
6) Finish top edge of waistband by serging, zigzaging, adding FOE, or bias tape. This will avoid the bulk of turning under.
7) Fold waistband over 1.5", pin and stitch, leaving a small section open at the back seam to insert elastic.
8) Measure waist, cut elastic at the same measurement -.5", insert elastic in casing using a safety pin. When you get it in, make sure that it is not turned and stitch ends together using a zigzag stitch. Go over this a few times. Pin the opening in the casing and stitch.
9) If you need to hem, you can do so now. Either serge the edge, or fold under. Then turn the hem up 1", pin, and stitch. I typically use two rows of stitching or a double needle stitch when hemming these, but that is not necessary.
 10) OPTIONAL: You can add a shash bow to the front by cutting a piece of fabric 3"x32". Cutting this on the bias will help with excess fraying. Other options to finish sash are narrow hem, rolled hem, serged edge, three step zig-zap, or standard zig-zag. I like it best with a little fray on the edge! Find the mid-point of your sash, gather down the center and stitch to the center front seam of the waistband.
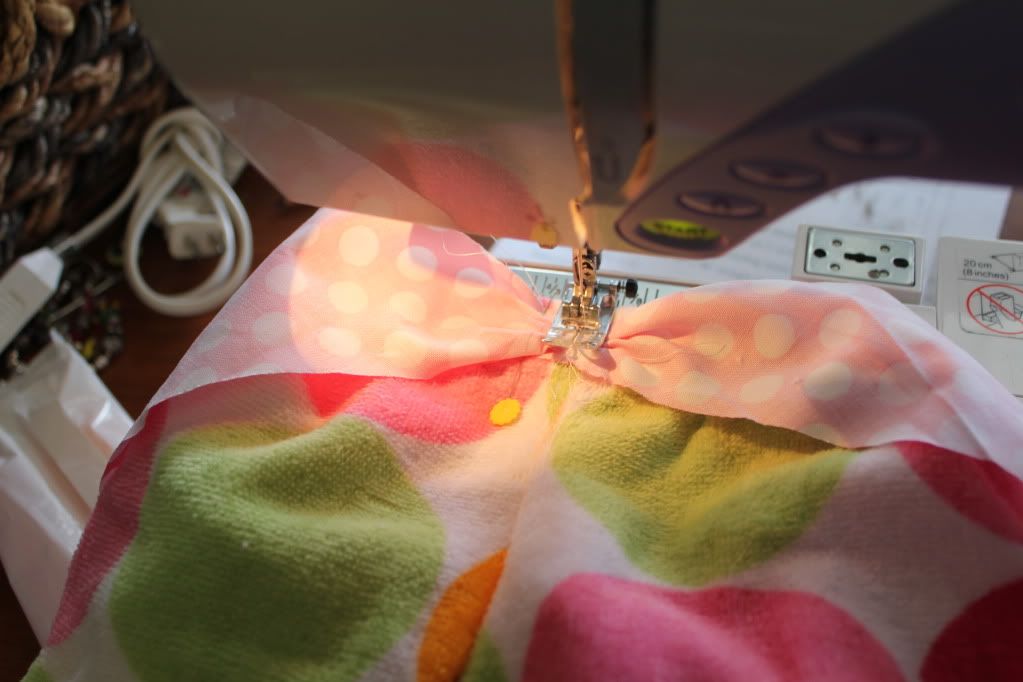 10) Hit the pool!
 I really love this tea cozy! I was recently asked to host a table for a women's tea and decorating was the best part. I am a bit obsessive with things and want everything to be just right. So of course my teapot needed new duds!
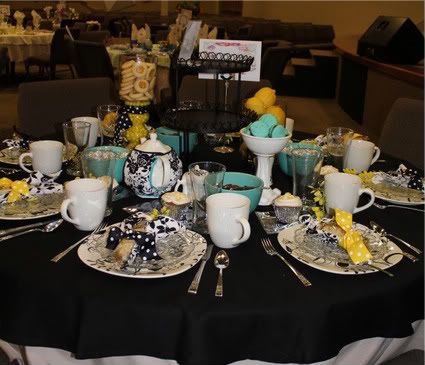 So here goes the tutorial! She is very easy to put together, just follow the pics if you need some guidance. Please note that the pattern is for a standard round teapot. If your teapot is shaped different, I would first adjust the pattern pieces to fit your hot lady! You can legnthen, widen, and adjust the openings easily.
 6) Attach bias trim to rounded inner edges. On the front piece, continue up to the top edge.
  7) Attach elastic from mark to mark on both front and back. Pull the elastic a bit as you are attaching. Use zigzag stitch to attach. The elastic won't be visible from the front.
 8) Attach the front to back at the side seams. If you like, you can sandwich piping in the seams!
 9) Stitch together back pieces at top edge. You will now have a completed handle opening.
 11) Attach bias trim to bottom edge. Stitch elastic to inside just as before, using a zigzag stitch.
  13) Put her on your hot lady and you are ready for one heck of a tea party!!